If you’ve ever wanted to design professional, customizable products without spending a dime, this tutorial is for you.
Today, I’ll walk you through creating a beautiful Rainbow-Themed Birthday Party Invitation using Photopea — a completely free, Photoshop-like tool that runs right in your browser (and yes, you can even download it for desktop).
By the end of this tutorial, you’ll have:
- A printable and digital-ready birthday invite
- Skills to create similar products for Etsy or personal use
- Free resources for templates, graphics, and fonts
And best of all — you can do it without paying for Canva Pro.
Why Consider Photopea Over Canva?
I love Canva, and it’s still my go-to for quick designs — but here’s why Photopea sometimes wins:
1. It’s 100% Free
No subscription plans, no hidden features locked behind a paywall.
2. Photoshop-Level Power
Photopea mirrors Adobe Photoshop’s interface and capabilities, so you get professional tools without the $20/month price tag.
3. Unlimited Customization
Unlike Canva, you’re not bound to a set number of effects or templates — you can manipulate every pixel.
4. Free Template Sharing
Canva lets you share editable templates only if you’re a paid user. With Photopea, anyone can open a PSD file you share.
Drawback (That’s Actually a Plus)
Photopea doesn’t come with a built-in graphics gallery. That means you’ll need to source your own images, but that also means no restrictions. You can grab free assets from:
- Pexels (photos)
- Freepik (vectors, illustrations)
- Or create your own with AI
Why Birthday Invites?
Birthday invitations are evergreen — they’ll never go out of style. On Etsy, some sellers make thousands selling only invitations.
Example:
A shop called OhHappyDigitalz launched just 6 months ago with only ~150 listings (52 of them invites) and has already made 2.8K sales. Even if each sale was just $2, that’s over $6,000 — and that’s passive income.
Tools & Resources You’ll Need
Before we start, here’s your design toolkit:
- Photopea – photopea.com (online or desktop)
- ChatGPT – For brainstorming themes and getting dimensions
- Raphael.ai – Unlimited AI-generated clipart
- Pinterest – For mood boards and design inspiration
- Freepik & Pexels – Stock graphics & photos
- 1001fonts.com – Free font downloads
Step-by-Step Tutorial
Step 1 – Research Your Theme
Open ChatGPT and ask:
“Give me 10 popular birthday party invitation themes that do not use copyrighted text or images.”
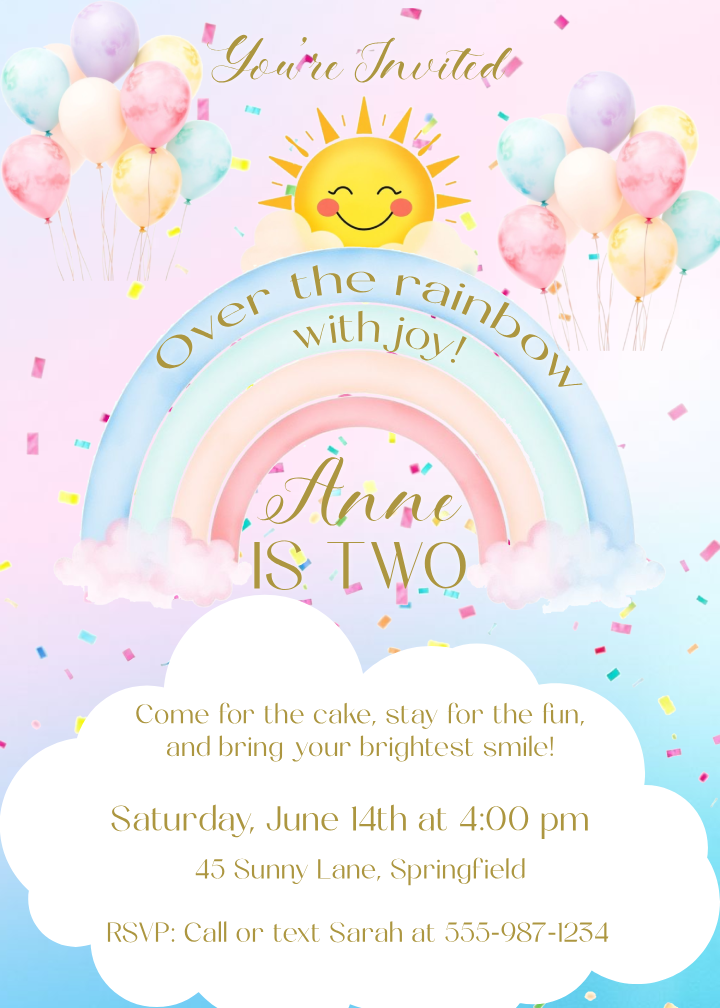
From the list, we’re going with Rainbow Theme — bright, cheerful, and universally loved for kids’ parties.
Step 2 – Decide on Invite Dimensions
Ask ChatGPT for:
“What are standard dimensions for a printable birthday invitation and a digital invite?”
Common results:
- Printable: 5″ x 7″
- Digital: 1080px x 1920px (or similar vertical size)
We’ll be working with the 5×7 inch printable format.
Step 3 – Create a Mood Board
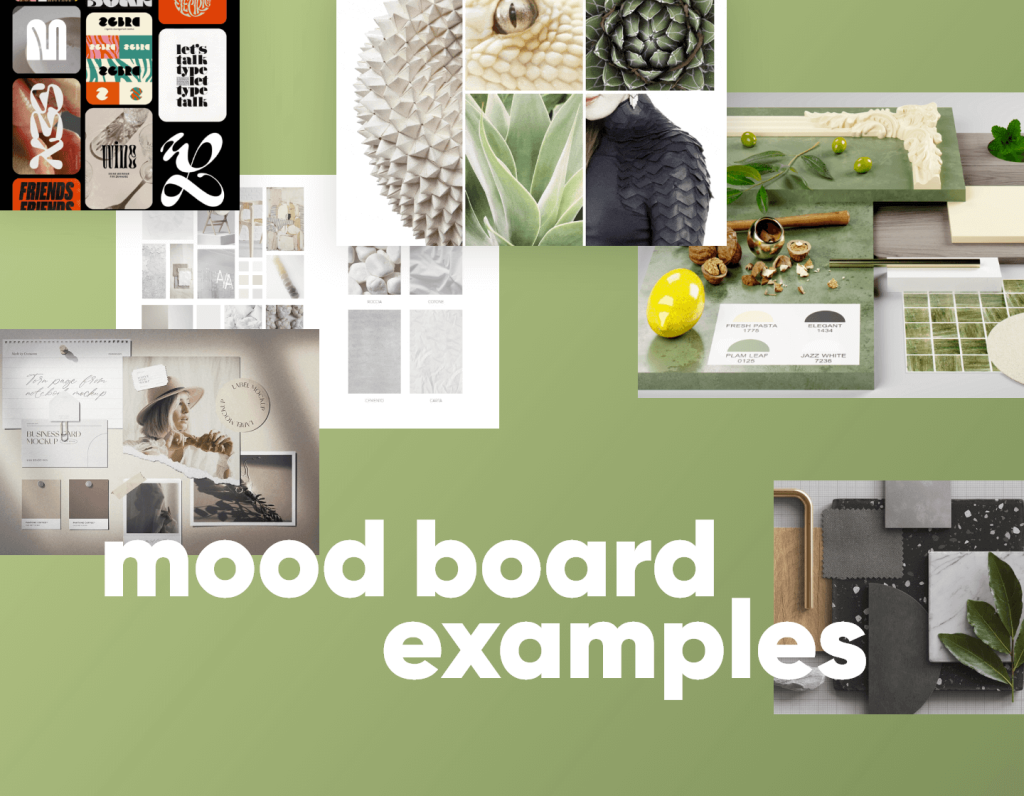
Mood boards are your visual game plan.
- Search “Rainbow Birthday Invitation” on Pinterest.
- Save 3–5 designs that inspire you.
- Find a color palette you like (Pinterest has tons).
- In Photopea, create a new project and drop your inspiration images + palette in one place.
This will guide your layout, color choices, and style.
Step 4 – Generate Custom Graphics
If you don’t have a MidJourney subscription, try Raphael.ai — it gives unlimited free AI images.
For our rainbow invite, generate:
- Rainbows
- Sun
- Clouds
- Confetti
Use prompts like:
“Watercolor pastel rainbow clipart, transparent background”
“Watercolor pastel sun illustration, soft edges”
Download your favorites and keep them organized in a folder.
Step 5 – Design Your Invite in Photopea
- Open Photopea → File → New → set size to 5 inches x 7 inches (300 dpi for print quality).
- Add your background color or gradient.
- Import your rainbow, clouds, and other clipart.
- Arrange elements to frame your text area.
- Visit 1001fonts.com, search for playful fonts, and download.
Examples: “Baloo”, “KG Happy” - Add event details:
- Name of the child
- Age
- Date & time
- Location
- RSVP details
Design Tip: Keep plenty of white space so the text remains legible.
Step 6 – Save and Export
- For printing: File → Export As → PDF or PNG (300 dpi)
- For Etsy customization: Save as PSD so customers can edit text in Photopea
- For digital sharing: Export as JPEG or PNG at smaller file size
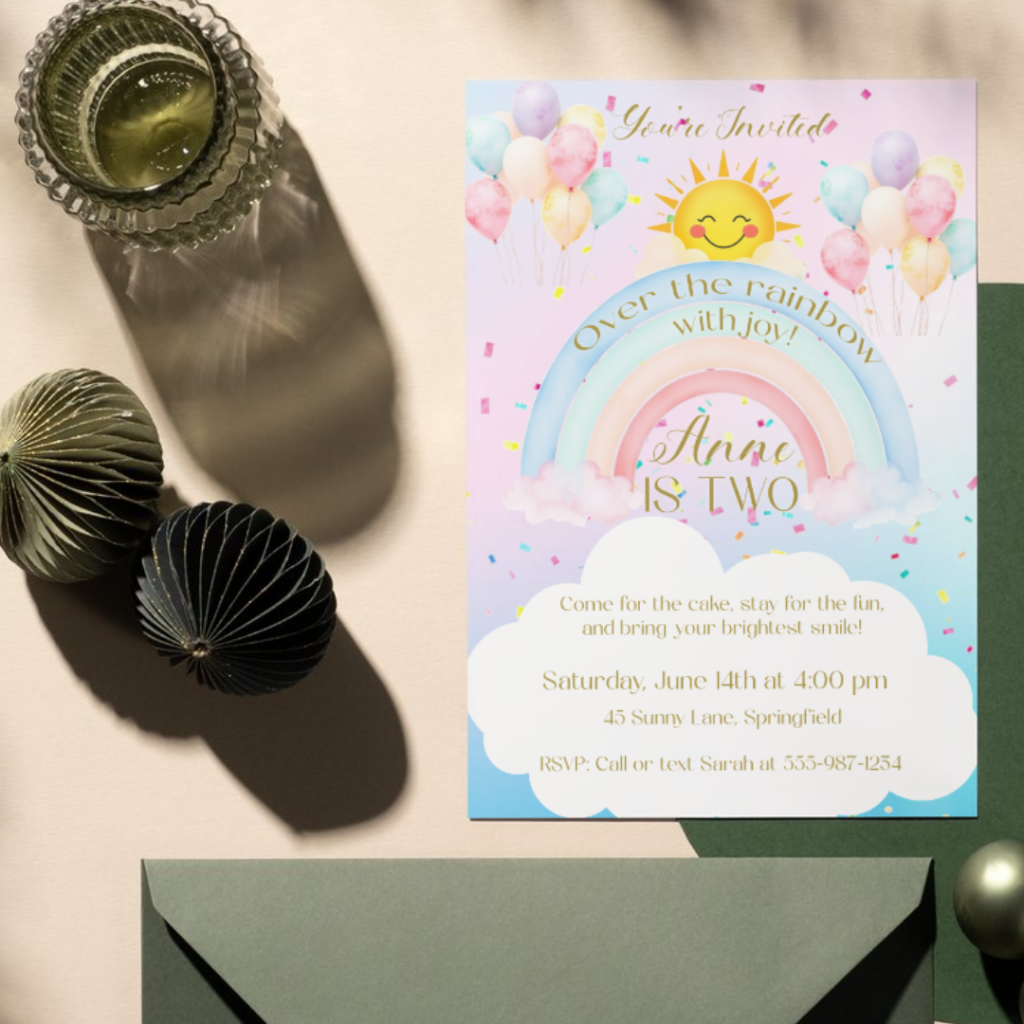
Selling Your Invites on Etsy
To make your invite Etsy-ready:
- Offer both printable and editable PSD versions.
- Include a product description explaining how buyers can edit the file for free using Photopea.
- Add mockups showing your invite in use (use free mockup generators or Canva for this part).
Final Thoughts
Photopea isn’t just a Canva alternative — it’s a powerhouse design tool in its own right.
With the ability to share free, editable templates and create custom graphics without limits, it’s perfect for small business owners, Etsy sellers, and DIY designers.
💡 Free Download: Grab my PSD template for the Rainbow Birthday Invite below: